PowerBI Tiles Pro 101: everything you need to get started

Joel Monteiro
August 9, 2018Whether this is your first contact with PowerBI Tiles Pro or you already know what it does, this 101 guide will hopefully provide all you need to get started with little to no trouble.
PowerBI Tiles Pro kicked-off DevScope’s PowerBI product suite and is its most successful release to date. Over 40.000 people and companies all over the world use it every day to enrich their documents with data from Power BI.
If you’re looking for information about PowerBI Tiles Pro and how to use it, you’ve come to the right place.
Following the success of the PowerBI Robots 101, we decided to write a similar 101 guide covering all you need to get started with PowerBI Tiles Pro.
- What is PowerBI Tiles Pro?
- Who should use PowerBI Tiles Pro?
- Downloading and Installing PowerBI Tiles Pro
- Using PowerBI Tiles Online
- Using PowerBI Tiles Pro Desktop
- PowerBI Tiles Pro Trial vs full version: what’s the difference?
1. What is PowerBI Tiles Pro?
PowerBI Tiles Pro is a Microsoft Office 365 add-in that allows users to embed Power BI visuals as either real-time data or high-quality screenshots in PowerPoint presentations, Word documents, and Outlook emails.
There are two different “flavors” of PowerBI Tiles you can choose from:
- PowerBI Tiles Online: embed real-time Power BI visualizations into PowerPoint presentations (works on both Windows and macOS).
- PowerBI Tiles Pro Desktop: embed high-quality screenshots of Power BI Visuals into Powerpoint presentations, Word documents, and Outlook Messages in just a few seconds (Windows only).
An annual PowerBI Tiles Pro license is available for only 99.99€, but you can give the trial version a go without any limitation – save for a red watermark on your pictures. Furthermore, if you wish to purchase multiple licenses, we offer incremental discounts.
2. Who should use PowerBI Tiles Pro?
PowerBI Tiles Pro is suited for professionals who need to analyze and present Power BI data regularly. You don’t have to be a Power BI developer or a power user to work with PowerBI Tiles Pro. However, if your job revolves around analyzing and presenting data from Microsoft’s BI platform, PowerBI Tiles Pro is a must-have.
3. Downloading and Installing PowerBI Tiles Pro
If you haven’t installed PowerBI Tiles Pro yet, follow the links below:
- Power BI Tiles Online Free version (Windows and macOS): follow the steps on AppSource in order to install the add-in.
- Power BI Tiles Pro Desktop Trial version (Windows only): extract all 3 files – Word, Outlook, and PowerPoint. Run the ones matching the programs you wish to enable PowerBI Tiles Pro on.
4. Using PowerBI Tiles Online
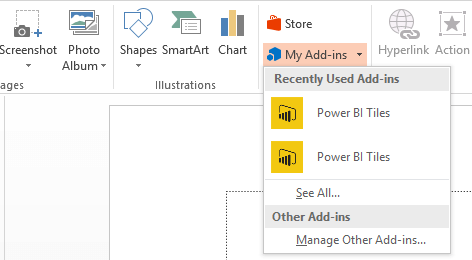
To embed real-time reports in PowerPoint, go to the Insert tab, and click the down arrow next to My Add-ins. Select the newly installed PowerBI Tiles from the list.
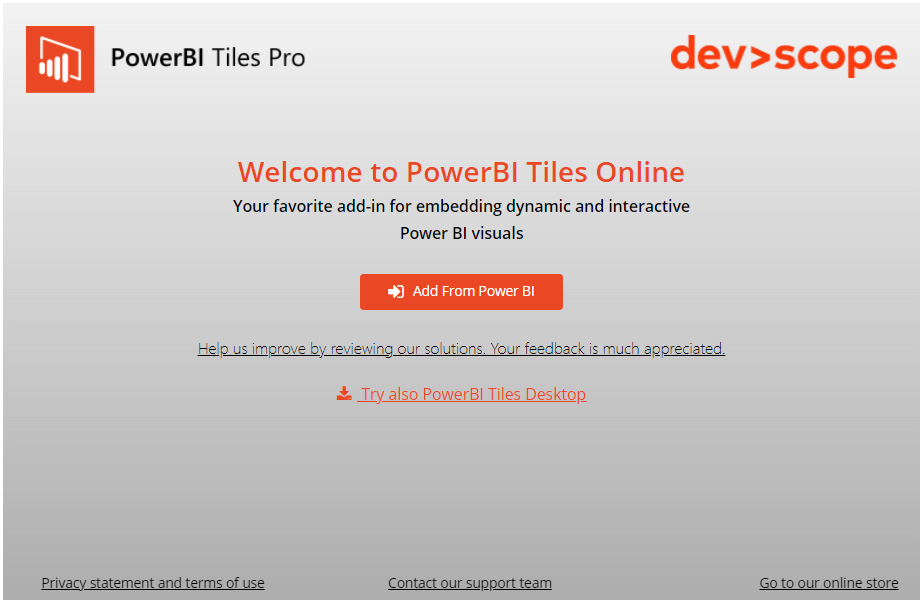
A window, similar to any other piece of media in Office should appear. Click the green “From Power BI” button to link your account or the blue “From public report” to paste a URL from a Power BI report on the web.
Once your account is connected, you’ll have access to your workspaces, dashboards, and reports.
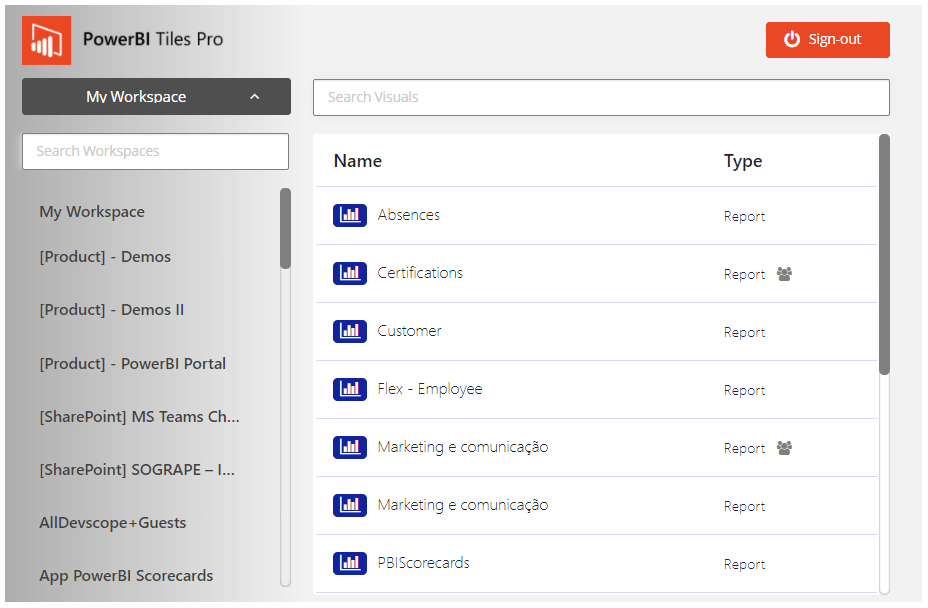
Select the report to embed in your PowerPoint presentation. You can now adjust it to the slide.
Note: if you can’t find PowerBI Tiles under My Add-ins, go to File > Options, and navigate to the Add-ins tab. Click the Go… button and select PowerBI Tiles from the list to enable it.
You can handle your report in PowerPoint as if you were on Power BI Desktop or Power BI Online. This means checking data on visuals, navigating between tabs, applying any filters, etc. In addition, you can hit the refresh button on the window to fetch the most recent data.
5. Using PowerBI Tiles Pro Desktop
Adding high-definition screenshots of your Power BI visuals to PowerPoint presentations, Word documents, and even Outlook emails is very simple.
Starting with PowerPoint or Word, navigate to the new PowerBI Tiles Pro Desktop tab and click the Login button to connect your Power BI account to Office 365. Click Add PowerBI to open a window displaying your Power BI workspaces. Among others, you can set the size and delay render from here.
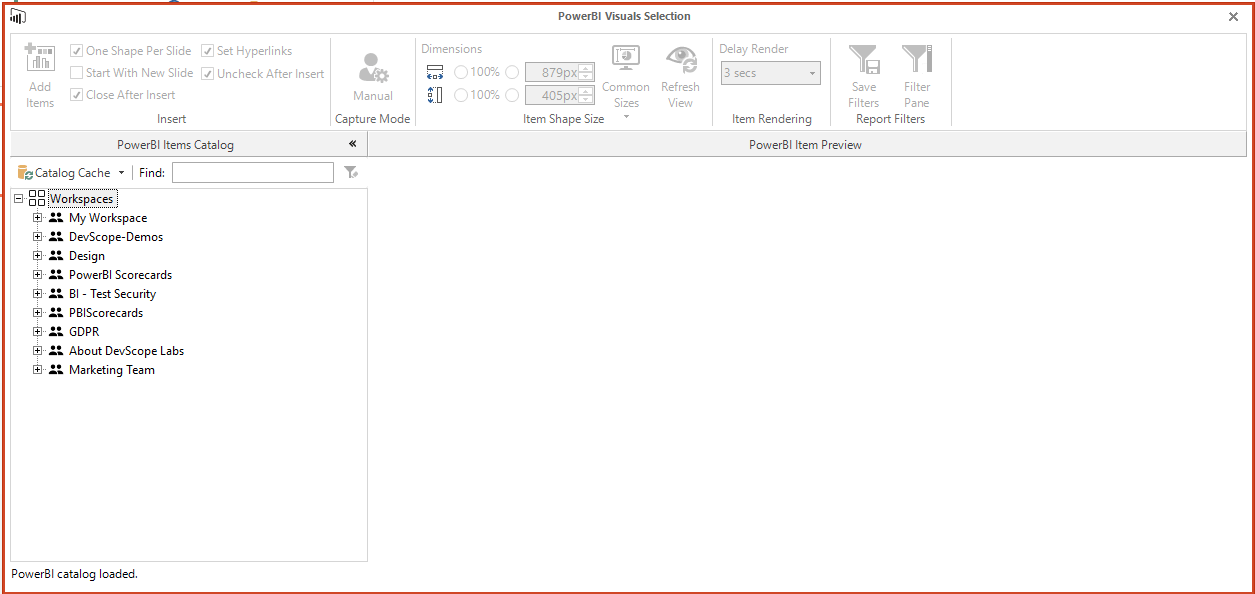
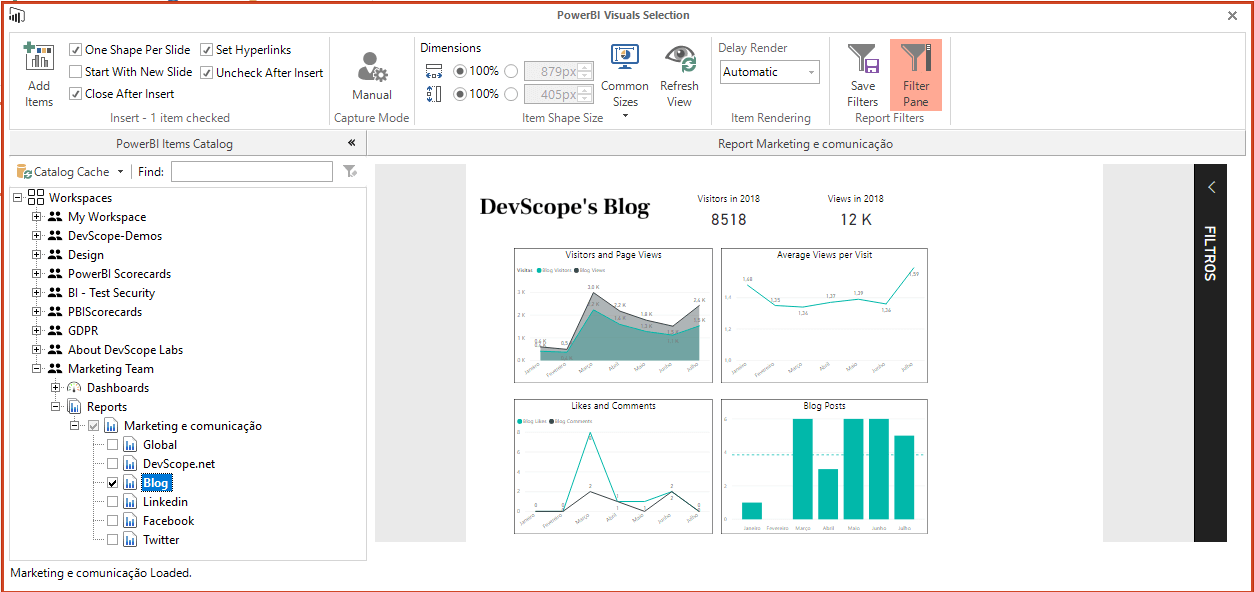
Navigate the list, check the ones you wish and click Add Items to insert them in your document.
In Outlook, you need to start writing or answer an email to see the PowerBI Tiles Pro Desktop tab.
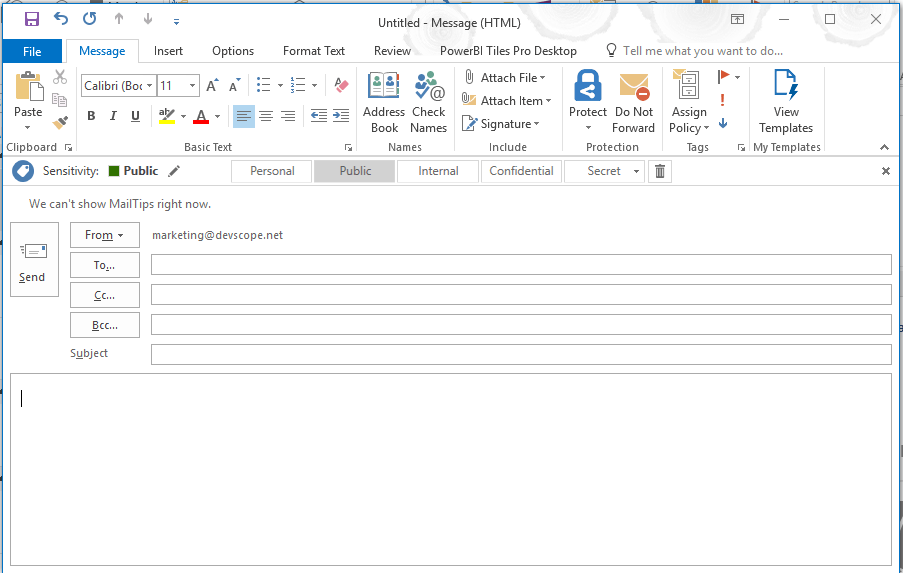
Note: when replying to an email, double-click it from the list otherwise the PowerBI Tiles Pro Desktop tab won’t appear.
Alternatively, you can add a Power BI report from the web by clicking Add From Url and pasting the link.
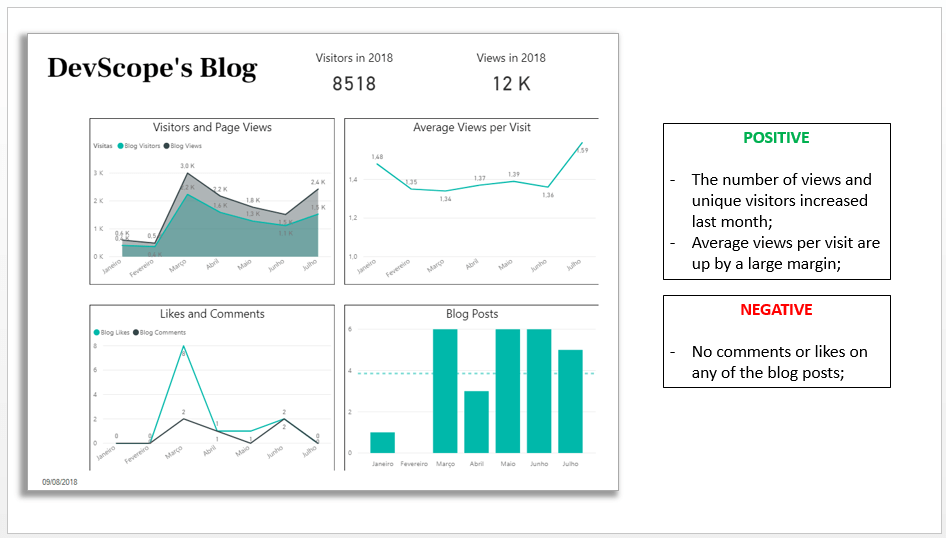
Once your Power BI reports are embedded, you can apply formatting just like you would to a regular picture.
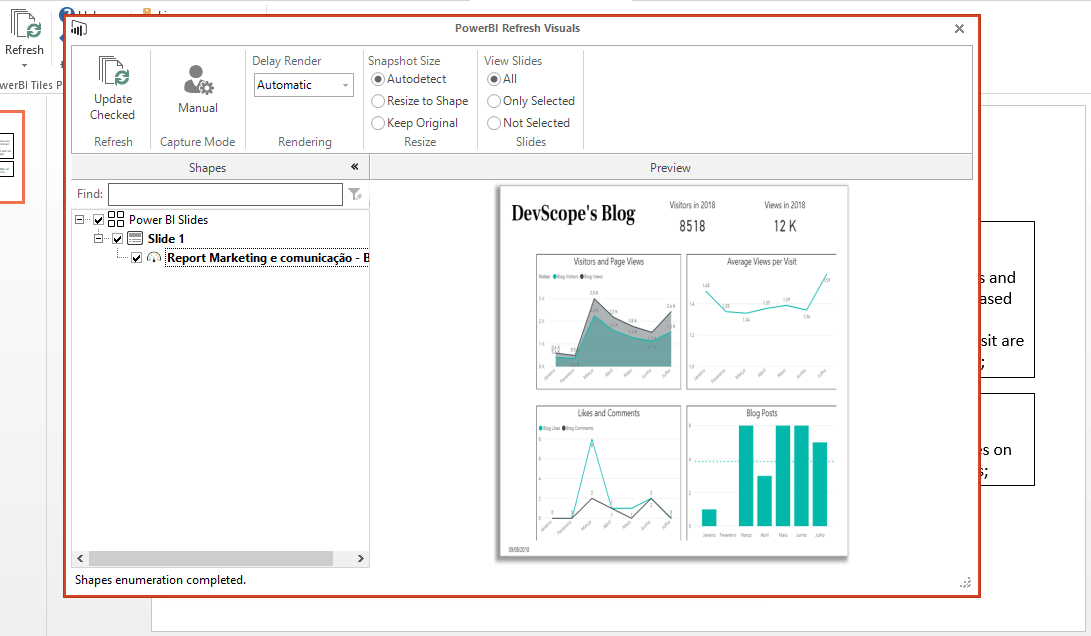
Whenever you need to update your data, go to the PowerBI Tiles Pro Desktop tab, hit the Refresh button and the app will make a list of all Power BI visuals in the document. Select those whose data you need to update and click Update Checked.
6. PowerBI Tiles Pro Trial vs full version: what’s the difference?
You can download a trial version of PowerBI Tiles Pro, and use it without any limitations, save for a red watermark in your reports. If you wish to update to the full version of PowerBI Tiles Pro and remove this watermark, a yearly license is available for only 99,99€. If you or your company wishes to purchase multiple licenses, the price per unit decreases considerably.
The PowerBI Tiles Online add-in can be downloaded for free from Microsoft’s AppSource. The trial version includes the following limitations:
- MyWorkspace is limited to 5 dashboards and 5 reports visuals.
- Visuals will have a watermark.
- An advertising banner will be placed on the report selection screen.
We hope you found this PowerBI Tiles Pro 101 guide useful. If you still have any questions regarding PowerBI Tiles Pro, check the product’s FAQs or contact us by email.
An annual PowerBI Tiles Pro license also unlocks all features in PowerBI Tiles Online.

How to send Power BI reports by email using Outlook
Sending emails with embedded Power BI reports can be as easy as inserting a picture thanks to an add-in called PowerBI Tiles Pro. Click this article to lea[...]